
Creating a donor profile
Ensuring your donors are in control of their data, and that they can only see the beneficiary data that is relevant to them, is of utmost importance. This is the best way to ensure a secure, and ethical, environment for sharing data between donors and beneficiaries.
To get started, the first step is to ensure that your donor is created on the platform. If you have not yet created a donor, you will not be able to invite them. If you need help with the process of creating a donor, you can check the “adding your donors” section of the following knowledge article:
Adding Donors To The Nonprofit Community
Connect donors to beneficiaries
Once donors have been created, the next step is to tie a donor to their beneficiaries. This will ensure that donors only have access to the specific projects or people that they have supported with their donations.If you need support with the connecting donors to beneficiaries the process is documented in the following knowledge article:
Connecting Donors To Beneficiaries
Once this is completed, you will now be ready to send out email invites to have your donors join your nonprofit community.
How to invite donors to create their profile and set their credentials
To invite a donor into your nonprofit’s community, you will want to navigate to “Donors” in the platform menu and select the donor that you want to invite. Once selected, click “Edit Profile” and you will be brought to a screen similar to the image shown below: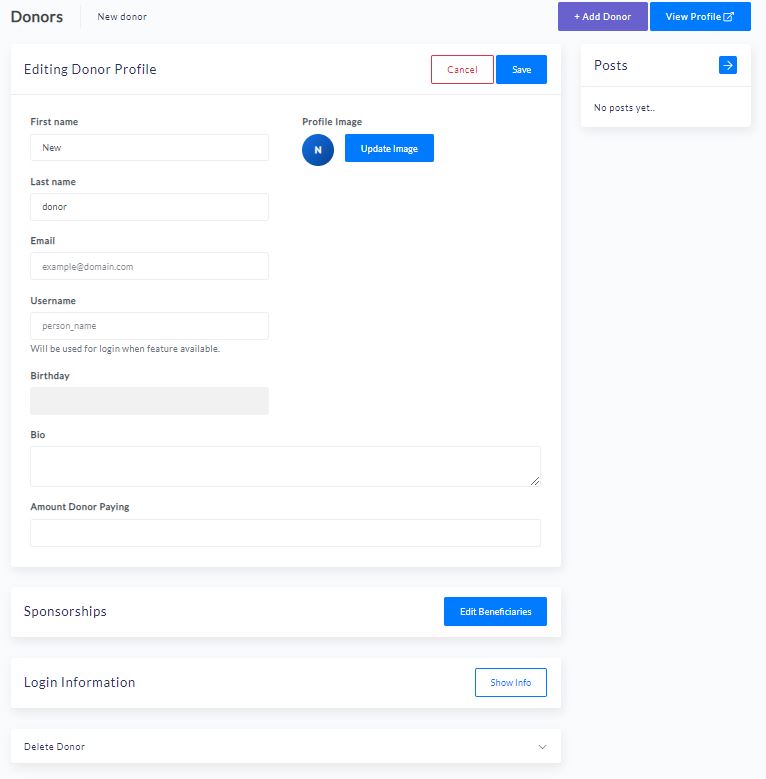
From this image, you can see the “Login Information” section. Click on the “Show Info” button and this section will expand to provide more functionality. See the following image:
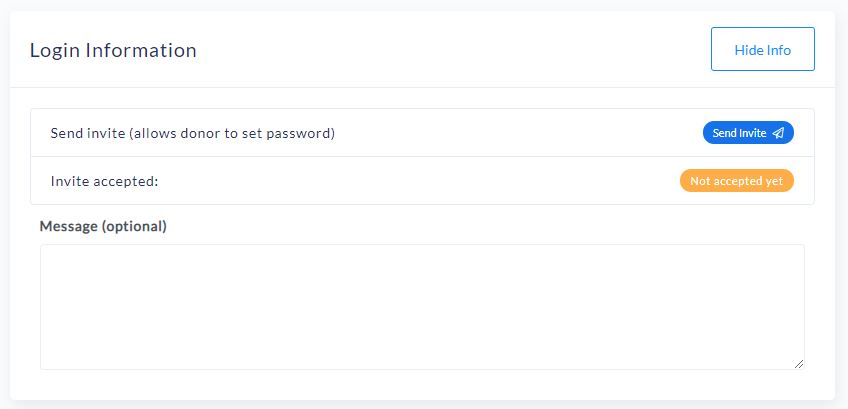
Once you have opened the “Login Information” section you will see the ability to send the invite directly through the platform. The donor needs to have an email address tied to their profile prior to sending the invitation, or else the invitation will not make it to the donor.
If desired, it is possible to customize the invitation message. You can do this by adding an email in the “Message (optional)” section.
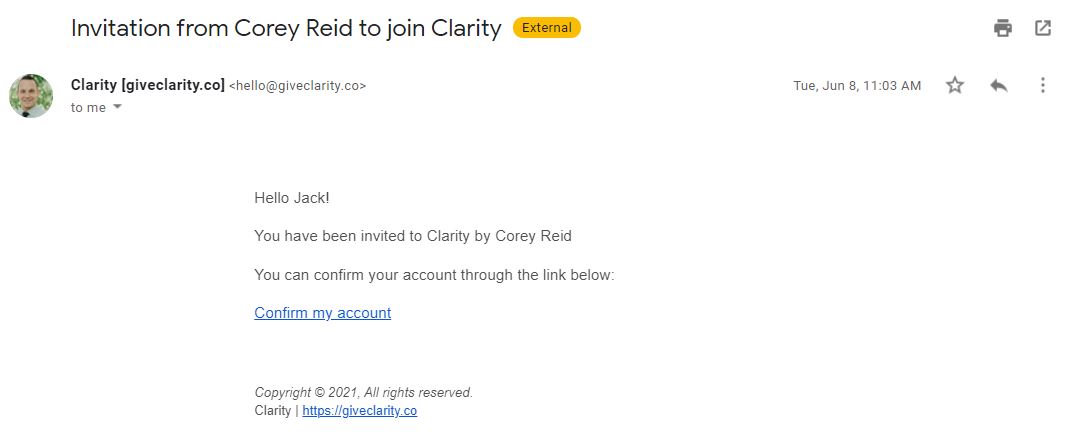
Once an email has been sent, the donor will receive a link to set their password for the platform. An example of the invite email is shown below. This email invitation shown does not have a custom email message.
Confirming the donor has accepted the invitation to your nonprofit community
Insights are one of the most powerful tools for organizations to gauge their donor engagement. This is why we have built various insights into the platform. They allow you to truly understand who is doing what when inside the community. If an email notification has not been accepted, it will be indicative of that within the “Invite Accepted” section of the “Login Information” on the donor’s profile.
Once a donor has accepted their invite, the indicator in the “Invite Accepted” section will change colors to be green, and it will show how long ago they accepted their invite. Invites are only marked green and accepted if the donor creates the password and actually enters into the profile. Therefore, it is recommended that you have beneficiary updates ready for your donors when sending the initial invite. Otherwise, they will login and have nothing exciting to see.
The following image shows a donor profile (from the organization administrators perspective) that has been accepted.
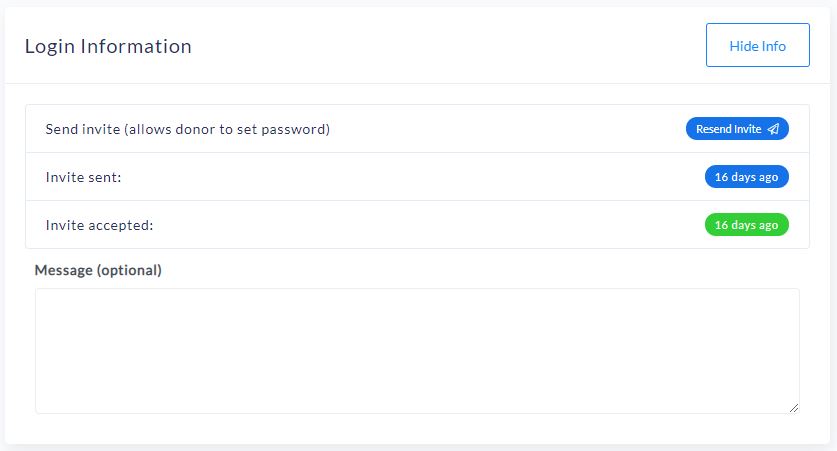
Also worth mentioning is that if a donor forgets their password, they can either use the self-serve “forgot password” method through the login page, or you can send them a new invite by using the “Resend Invite” button shown in the previous image.
We hope this helps you understand how to complete the set up of your donor profiles. You can now start allowing your donors to engage with your beneficiaries through your nonprofits community.
If you have any suggestions for improvements to this feature or functionality, please do not hesitate to reach out to us at [email protected]!